
创建目录
[root@VM-0-16-centos ~]# mkdir /usr/java
mkdir: cannot create directory ‘/usr/java’: File exists
[root@VM-0-16-centos ~]# cd /usr/java
[root@VM-0-16-centos java]# ls
[root@VM-0-16-centos java]# cd ..
[root@VM-0-16-centos usr]# cd ..
[root@VM-0-16-centos /]# ls
bin boot data dev etc home lib lib64 lost+found media mnt opt proc root run sbin srv sys tmp usr var

1.安装JDK(path之类的已经自动设置好了)
yum list java*

yum install java-1.8.0-openjdk* -y

2.安装MySQL
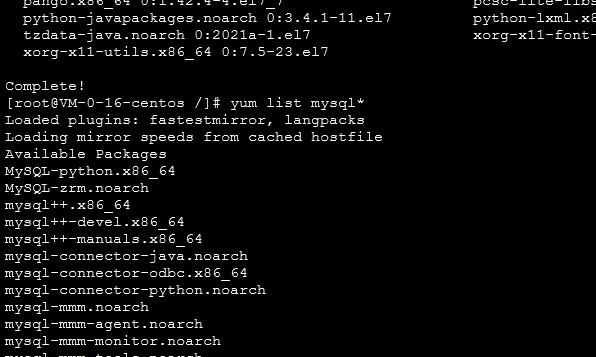
#查看所有以mysql开头的软件
yum list mysql*

安装数据库(uiboot环境的)

1 下载并安装MySQL官方的 Yum Repository
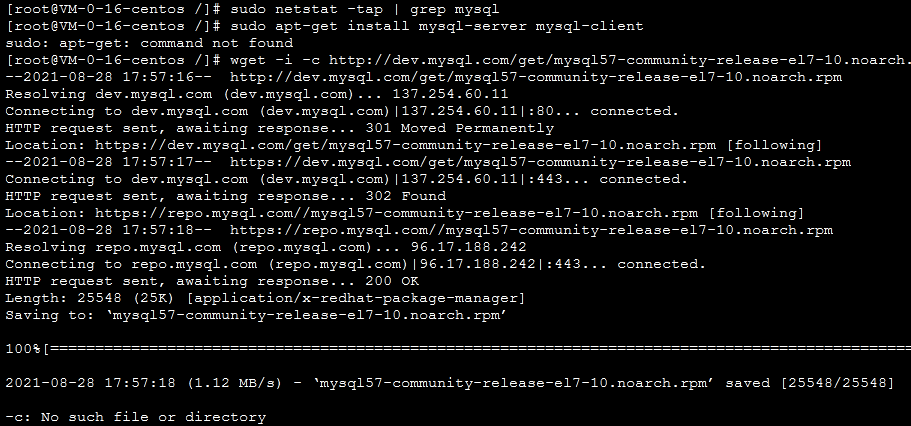
使用上面的命令就直接下载了安装用的Yum Repository,大概25KB的样子,然后就可以直接yum安装了。
yum -y install mysql57-community-release-el7-10.noarch.rpm

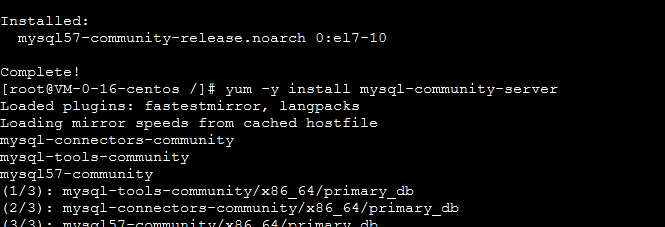
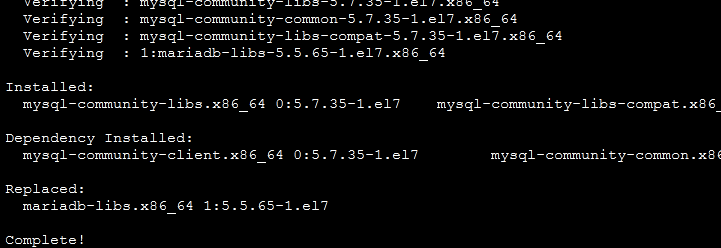
之后就开始安装MySQL服务器。
yum -y install mysql-community-server
这步可能会花些时间,安装完成后就会覆盖掉之前的mariadb。
MySQL数据库设置
首先启动MySQL

[root@localhost ~]# systemctl start mysqld.service
查看MySQL运行状态,运行状态如图:
[root@localhost ~]# systemctl status mysqld.service

此时MySQL已经开始正常运行,不过要想进入MySQL还得先找出此时root用户的密码,通过如下命令可以在日志文件中找出密码:
[root@localhost ~]# grep “password” /var/log/mysqld.log
如下命令进入数据库:
[root@localhost ~]# mysql -uroot -p
